
Urban City Free Lightroom Preset www.EditPreset.com
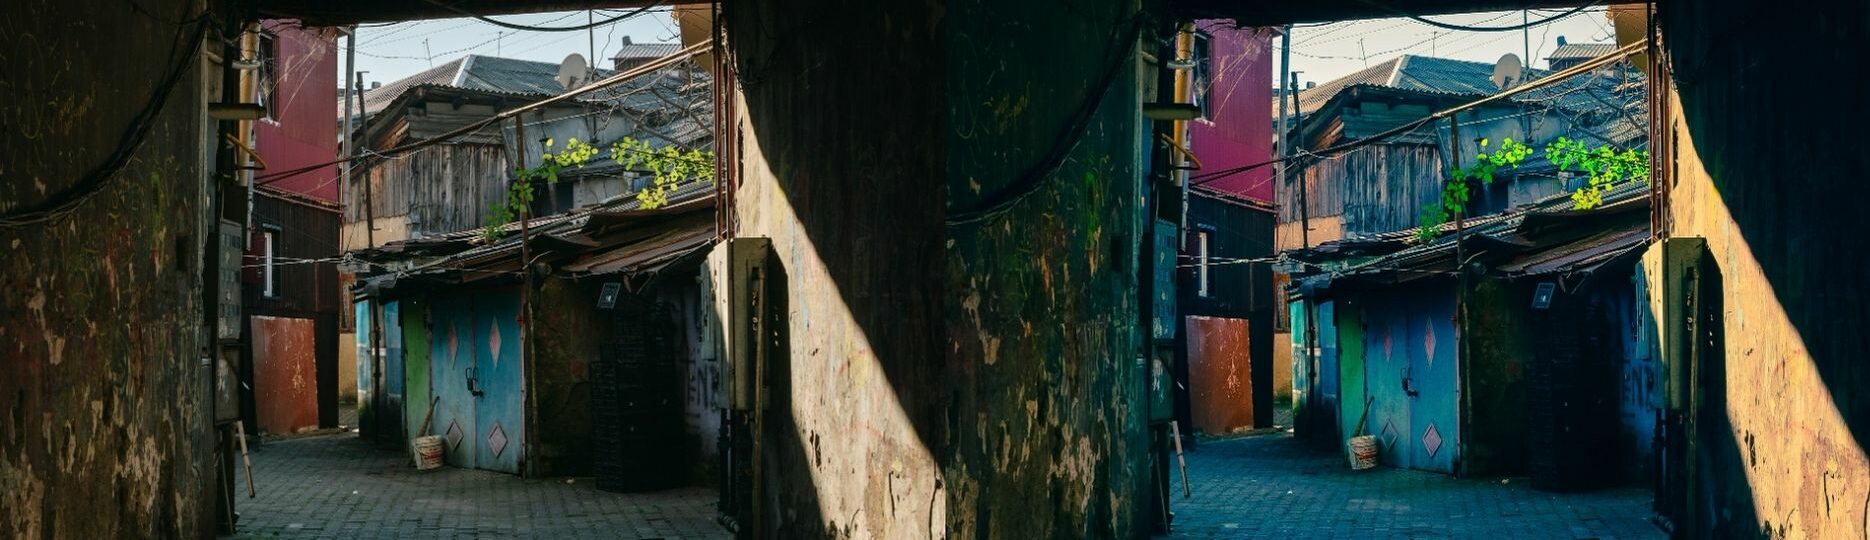
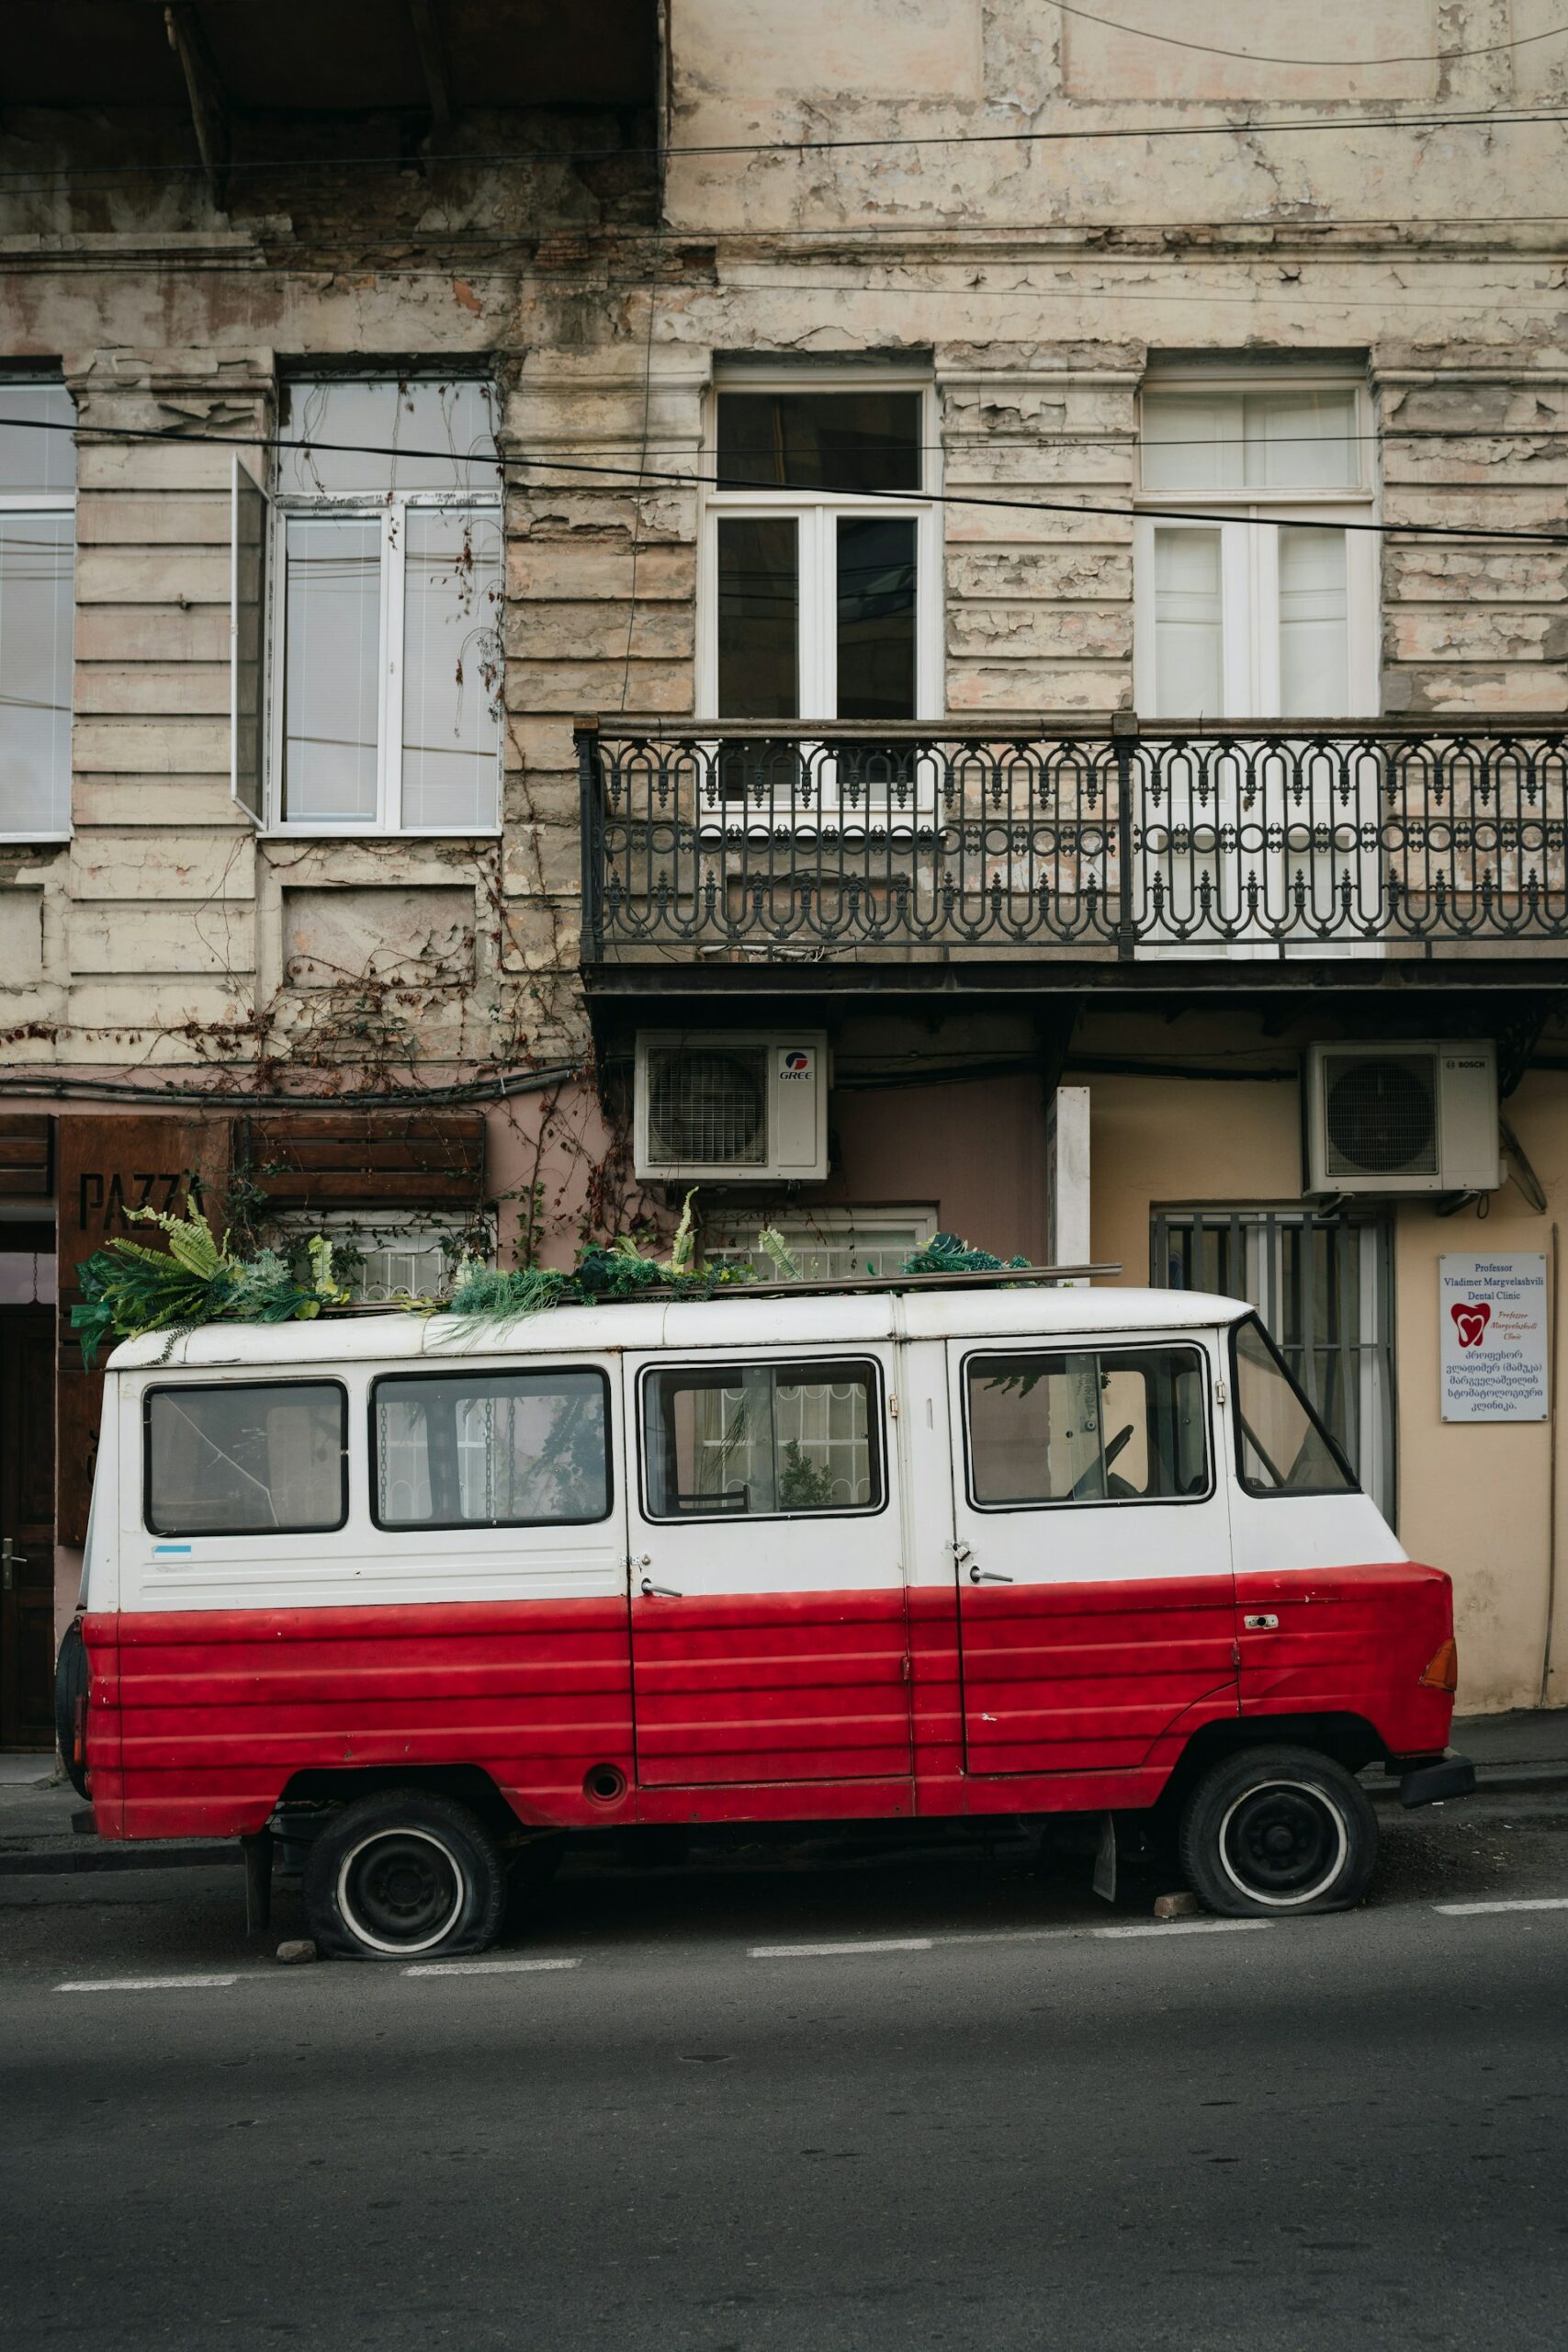
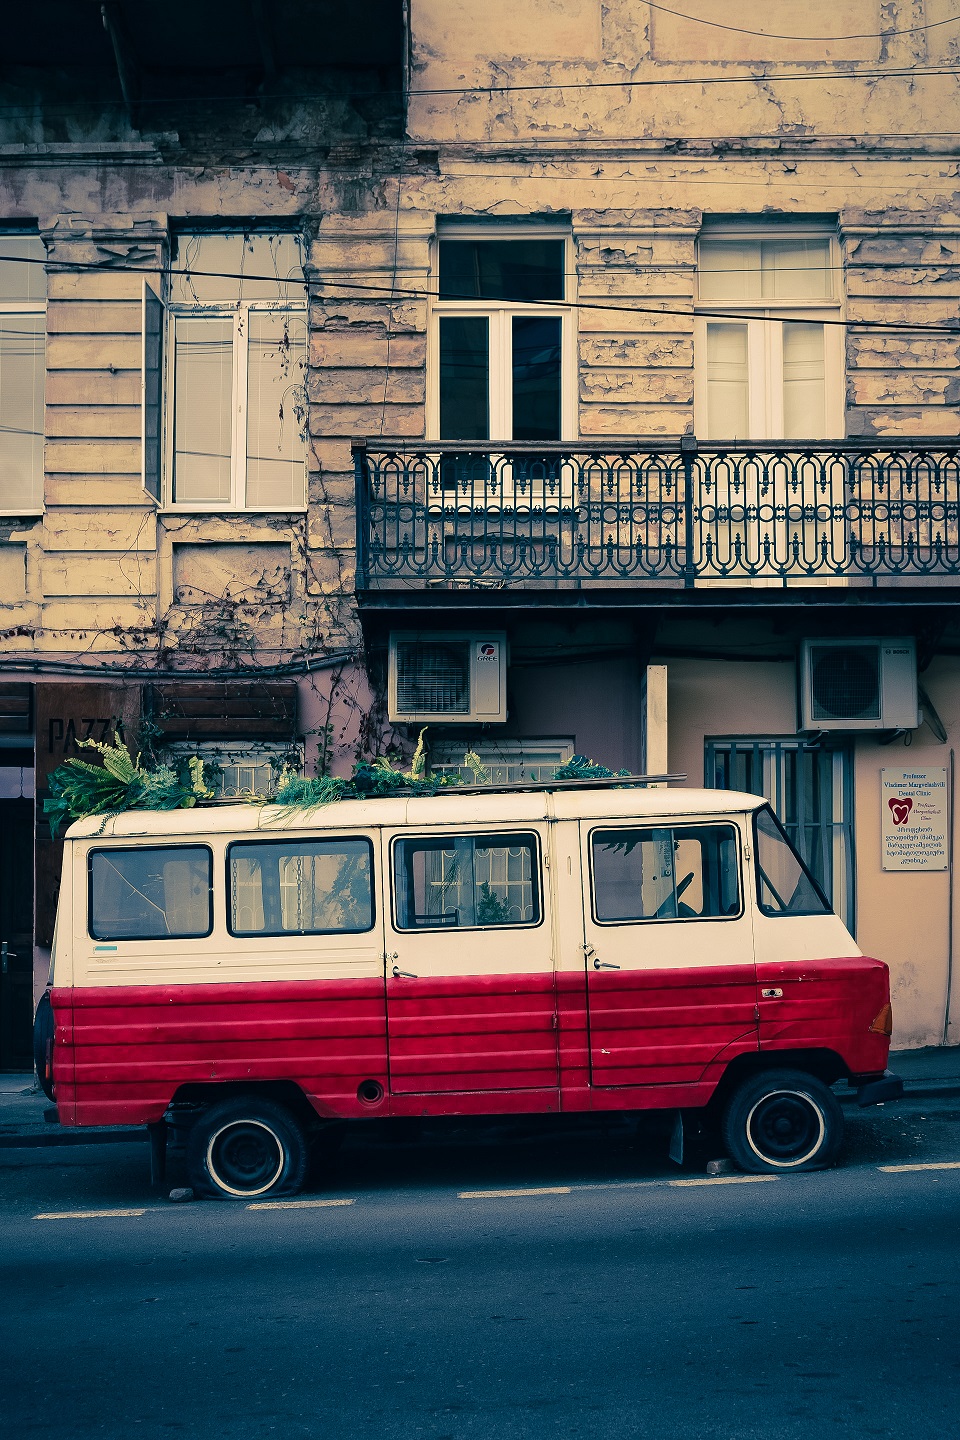
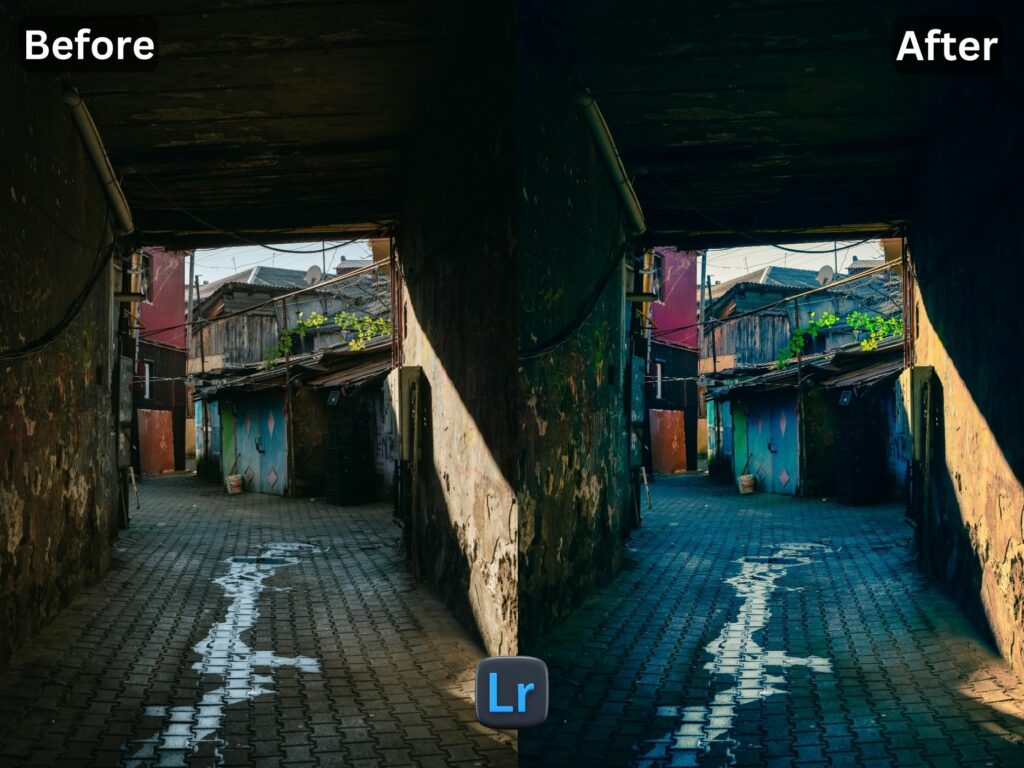
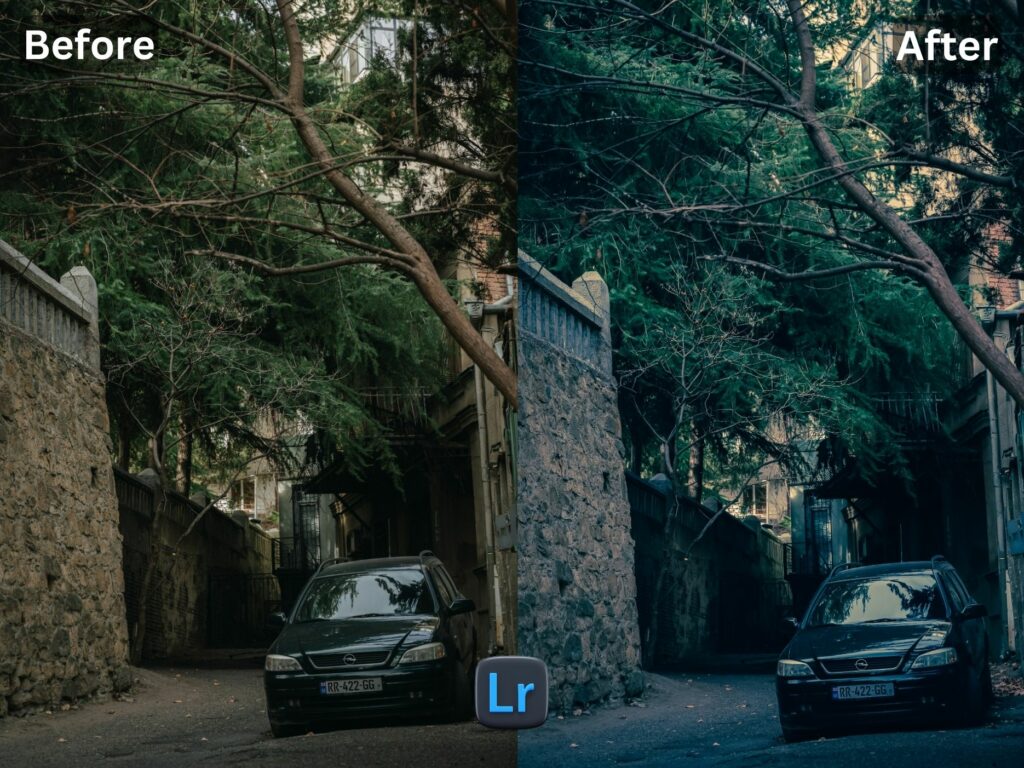
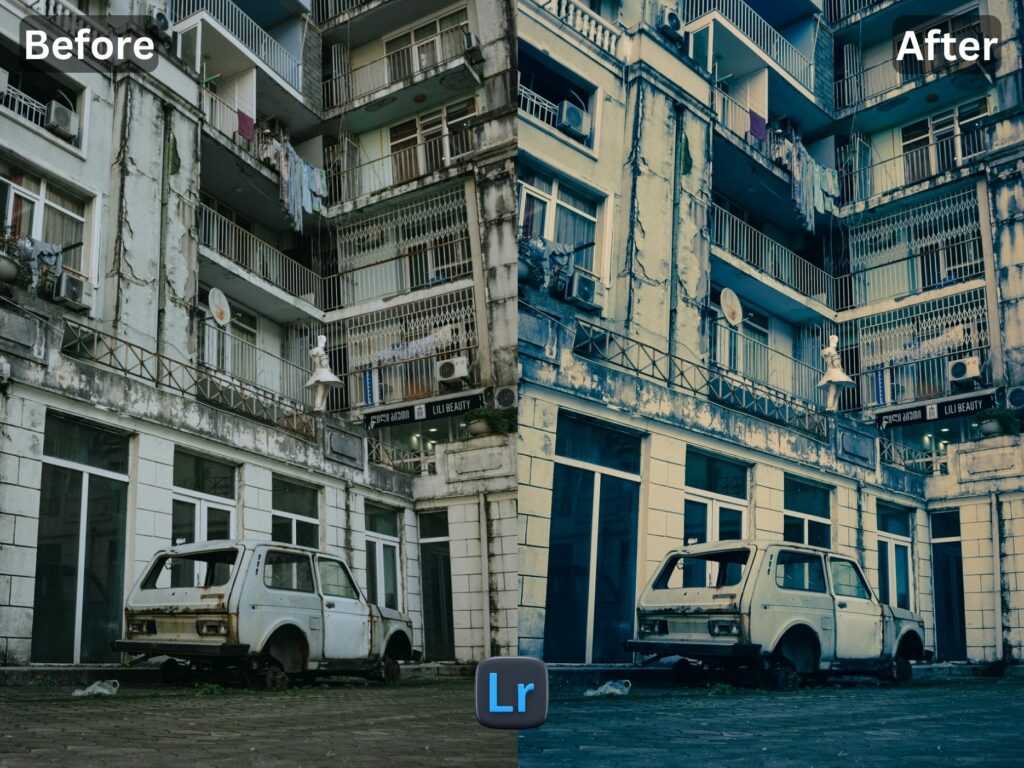
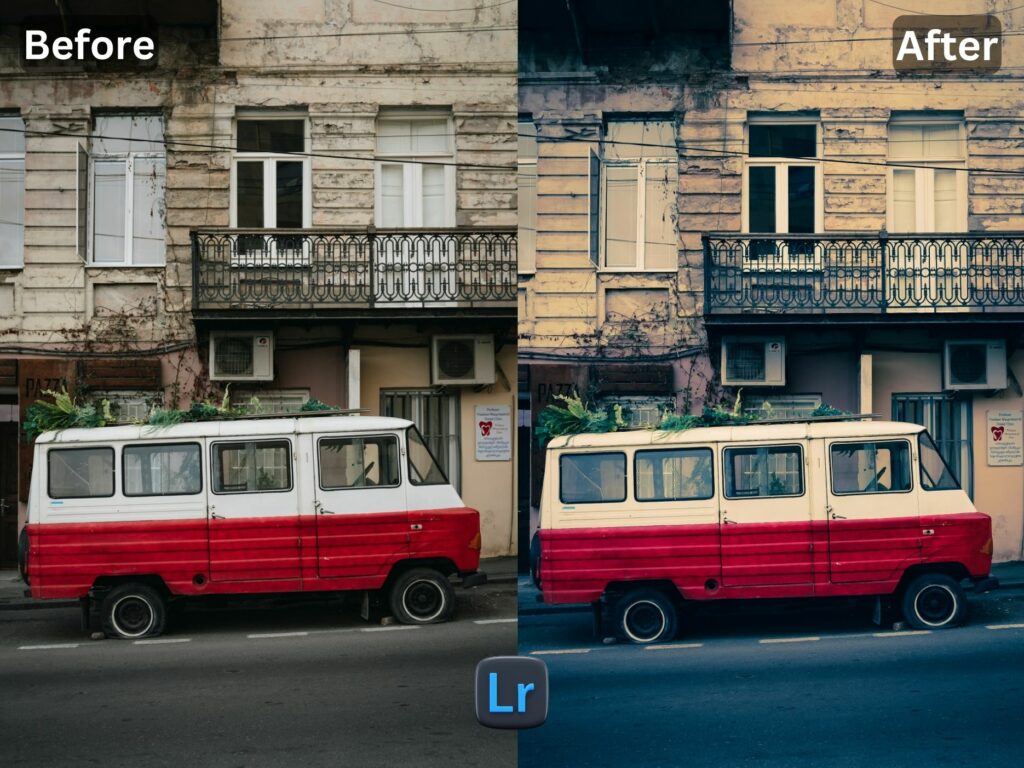
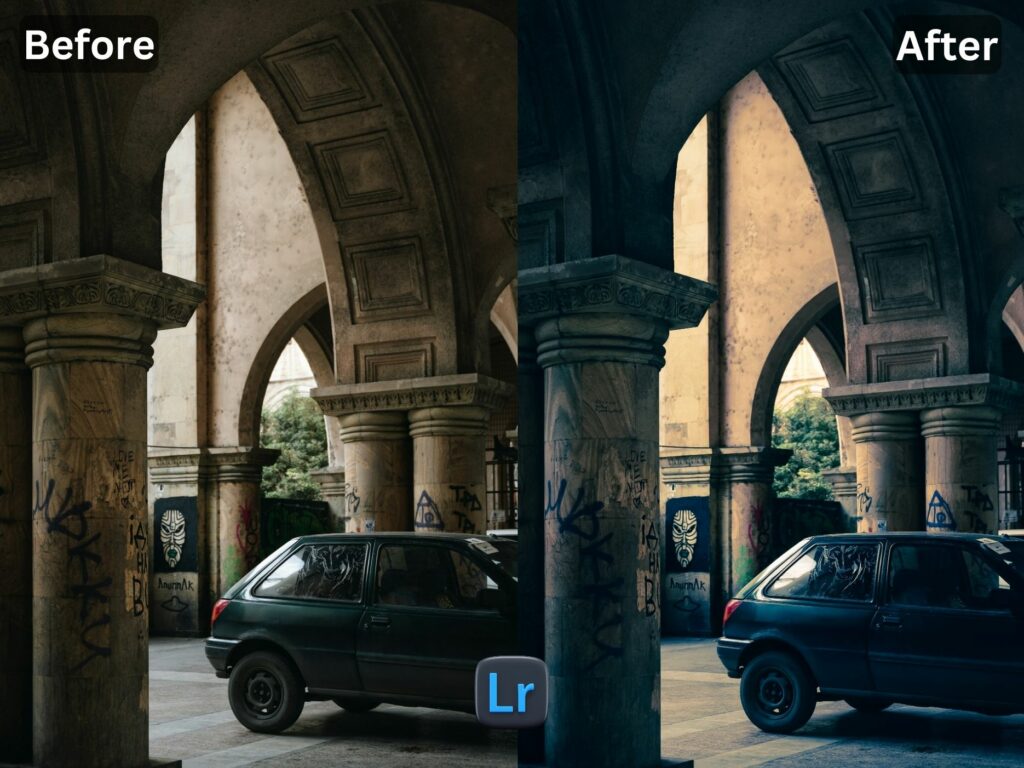
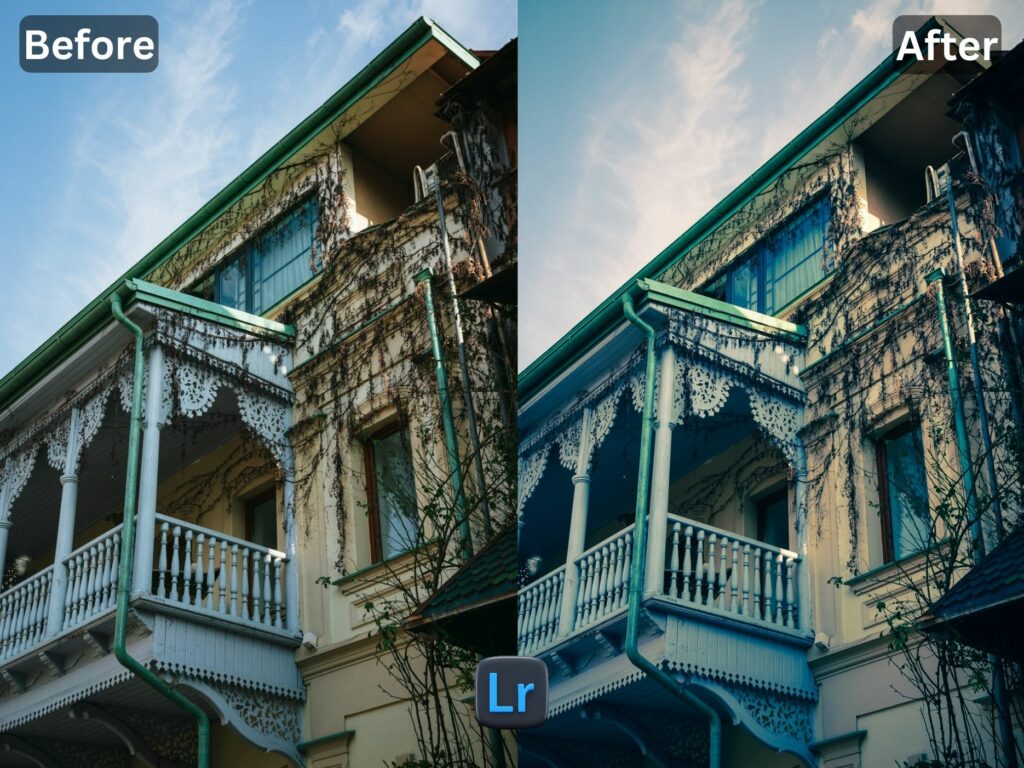
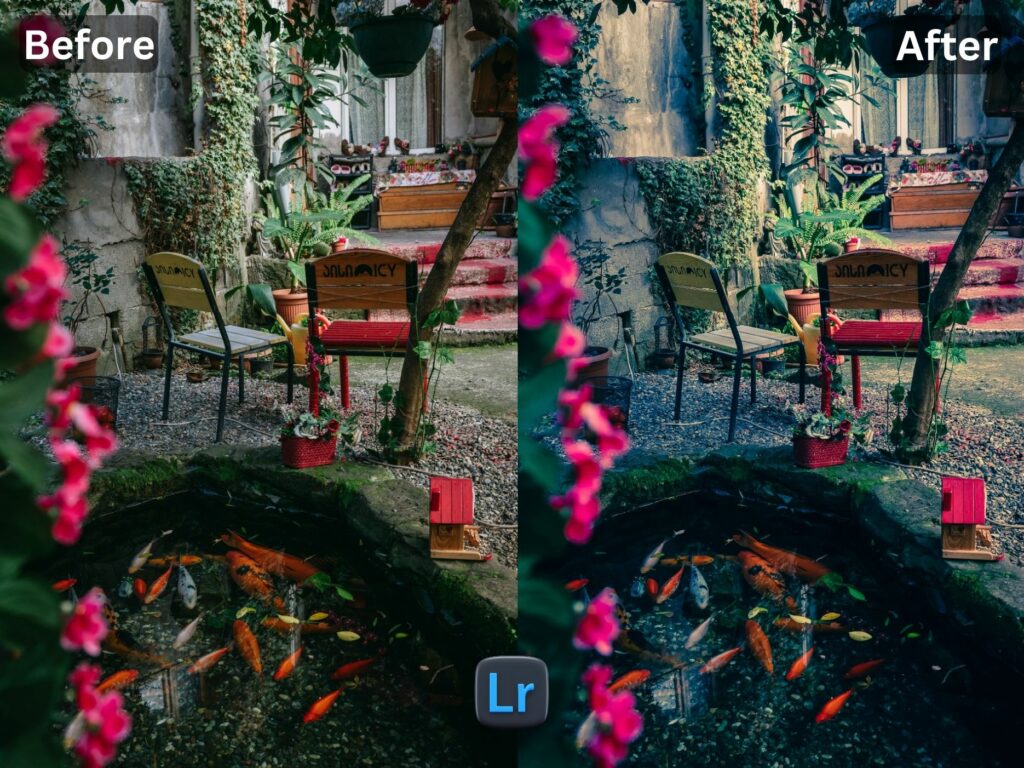
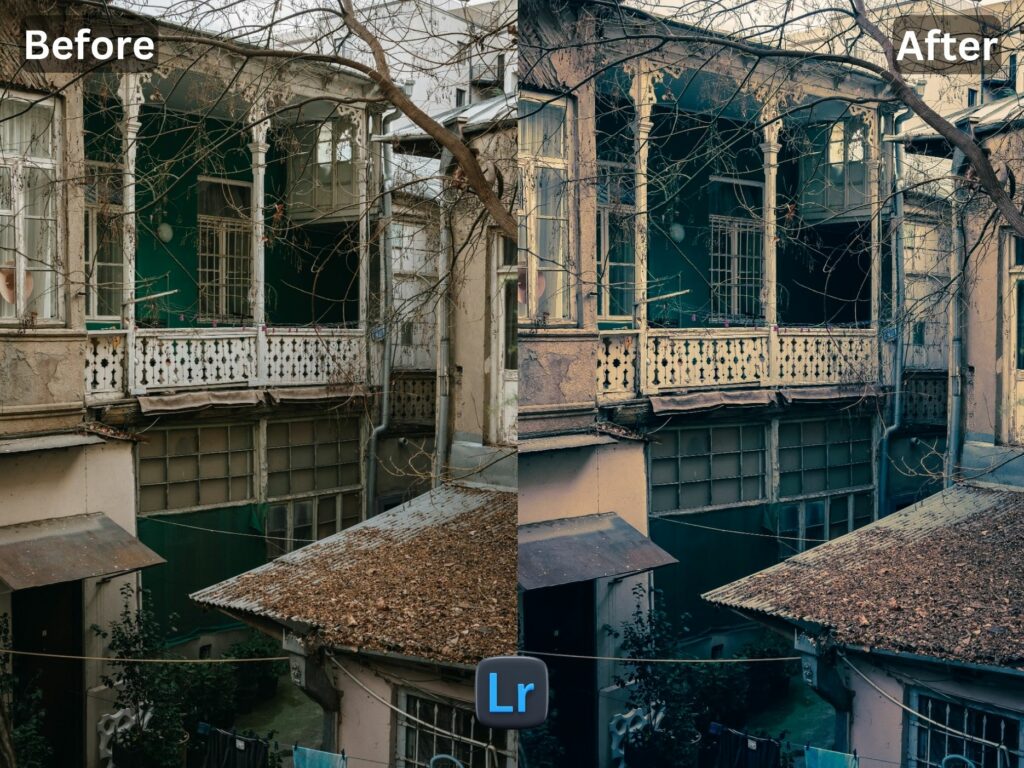
Urban City Free Lightroom Preset www.EditPreset.com will Enhance colors on your photo without any effort. it is perfectly made by me to bring out the vibrant colors and will add dynamic feel of urban landscape into your pics, this preset is very very ideal for cityscape, street photography, and best for modern architecture shots. If you are professional photographer or just capturing pics for memories on your phone or camers, this preset will helps you achieve good Edited professional looking pictures in seconds. Download it for free and enjoy.
Question: What is Lightroom Preset?
Answer: Adobe Lightroom presets is like a ready-made Filter or you can call it reciepe for editing your photos easily in Adobe Lightroom software. With just one click you can get magic, it suddenly changes setting of your picture like brightness, contrast, and colors to give your photo a beautiful look or style. you can think of preset as a more advanced version of a filter you can use in other apps or softwares that you can tweak and use over and over on different photos.
if you are new here on my website you have to check another of my Presets.
Here is youtube video watch and you will see how it preset worked on these pictures.
All presets are carely made by me with special care but you have to keep in mind that every photo is taken differently with change mobile or cameras with changed settings, brightness, shadows so preset can diffferently work on your different pictures so you have to apply free presets to see if it look good on your photos, and alas it is free not to worry just you have to download free preset and enjoy, i just want you to share my presets with your friends.
 I WANT TO ADJUST THE PRESET
FAQ for info
1. This preset make my photo too bright. How do i Adjust ?
Apply following settings in your Mobile / PC Lightroom App:
- Light > Exposure > Decrease
- Light > Shadows > Decrease
 2. This Preset make my photo too darken. How do i Adjust it?
Apply the following settings in your Mobile Lightroom App:
- Light > Exposure > Increase
- Light > Shadows > Increase
 3. This preset made my picture too cold or warm what should i do?
Apply the settings in your Mobile / PC Lightroom App:
- Color > Temp > Increase/Decrease (Tip: More Yellow for warmer tones, More Blue for colder tones)
 4. Made my skin color too orange. How to adjust?
Apply following settings in your Mobile Lightroom App:
- Color > Mix > Orange > Saturation > Decrease
- Color > Mix > Orange > Luminance > Increase
 5. The preset made my skin color too Red How to adjust it?
Apply following settings in your Mobile Lightroom App:
- Color > Mix > Red > Saturation > Decrease
- Color > Mix > Red > Luminance > Increase
 6. Made the greens in my photo too faded in picture and did not look good. How do I adjust it?
Apply the following settings in your Mobile Lightroom App:
- Color > Mix > Green > Saturation > Increase
- Color > Mix > Green > Luminance > Increase/Decrease
 How to Install:
1. Download the DNG file from my Post & Download it.
2. And then open your LR App and Import the DNG file into your Lightroom mobile app as you Import any other image.
3. Open the DNG image, tap on the 3 dots icon in the upper right corner and choose Copy and then open your own picture and Paste it to your photo, or choose to Create Preset , to save the presets in your Presets Lightroom Gallery.

